Crochet Bookmark
A slim crochet bookmark with a delicate lace section, tassel, blocking, and gift-ready finishing.
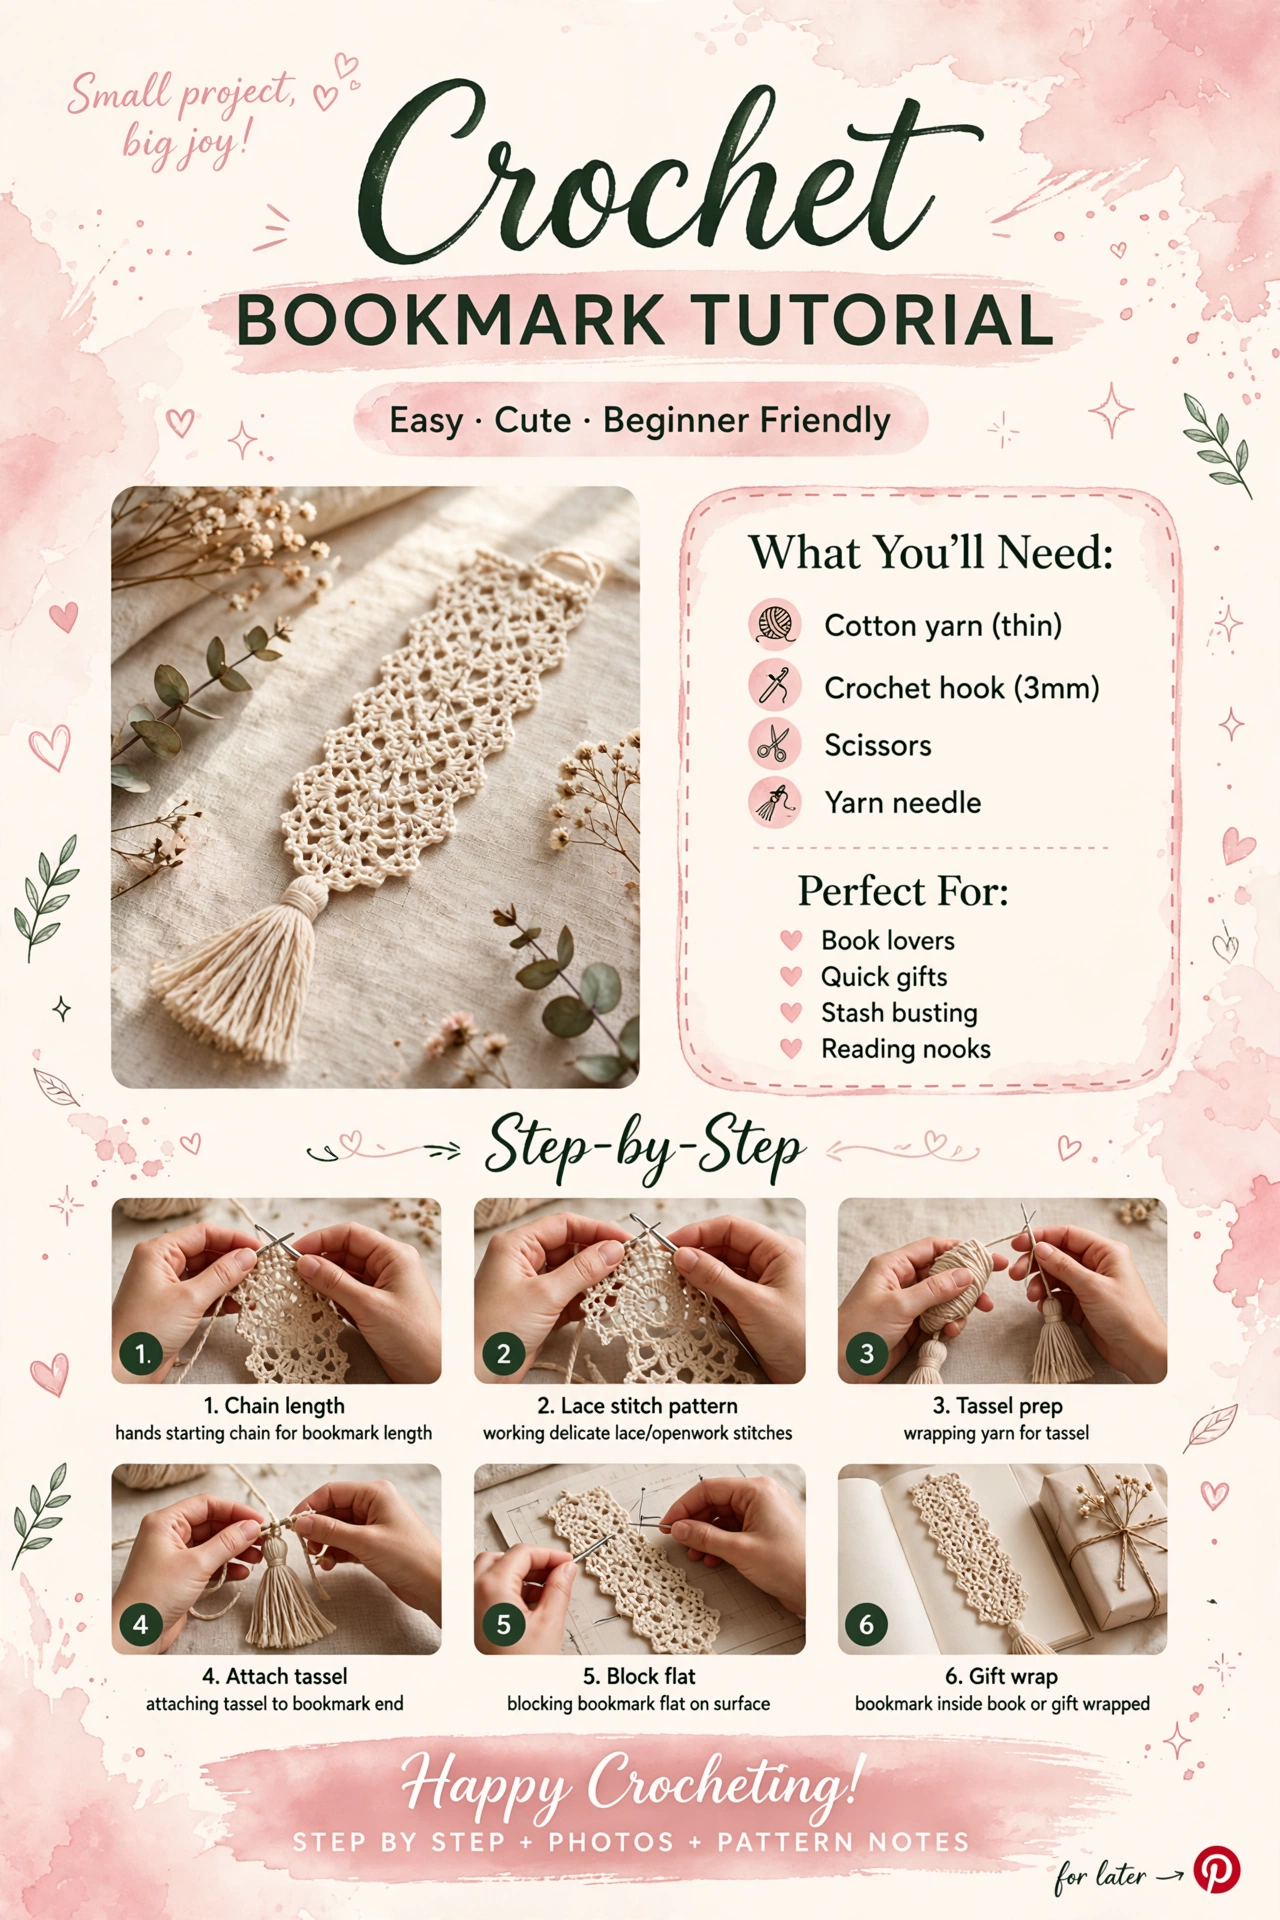
Complete tutorial roadmap
- Prepare yarn, hook, measurements, and workspace.
- Build the main shape with consistent stitch counts.
- Pause at checkpoints to compare size and symmetry.
- Finish edges, joins, closures, or hardware carefully.
- Block, wash, and store the finished project appropriately.
Materials & preparation
Thin cotton yarn, 3 mm hook, scissors, yarn needle
Core pattern / method
A bookmark is a great scrap-yarn project: it is quick, flat, and gives you a place to practice even chains and openwork.
Step-by-step
- Chain to the length you want, then work a narrow lace-style stitch pattern back and forth.
- Keep the side edges straight by checking the first and last stitch of each row.
- Finish with a small tassel and block the bookmark flat.
Checkpoint
Place the bookmark inside a book while it is still untrimmed to check the length. The finished piece should lie flat without pulling the spine or protruding too far.
Troubleshooting
If the edges wave, reduce tension changes between chains and stitches. If the bookmark twists, block it gently and check that turning chains are consistent.
Finishing
Weave in the working end, trim the tassel evenly, and block the piece flat if the yarn permits.
Variations & next projects
Try a contrast tassel, a tiny flower at the end, or a longer version for journals.
Care & storage
Keep it dry and wash gently if the fiber allows. Store it flat inside a favorite book.
Final notes
Record your hook size, stitch count, and any adjustment that worked for your tension. Those notes make the next version easier and more consistent.