Crochet Cardigan
A beginner-friendly cardigan construction using a back panel, two front panels, simple sleeves, and a button band.
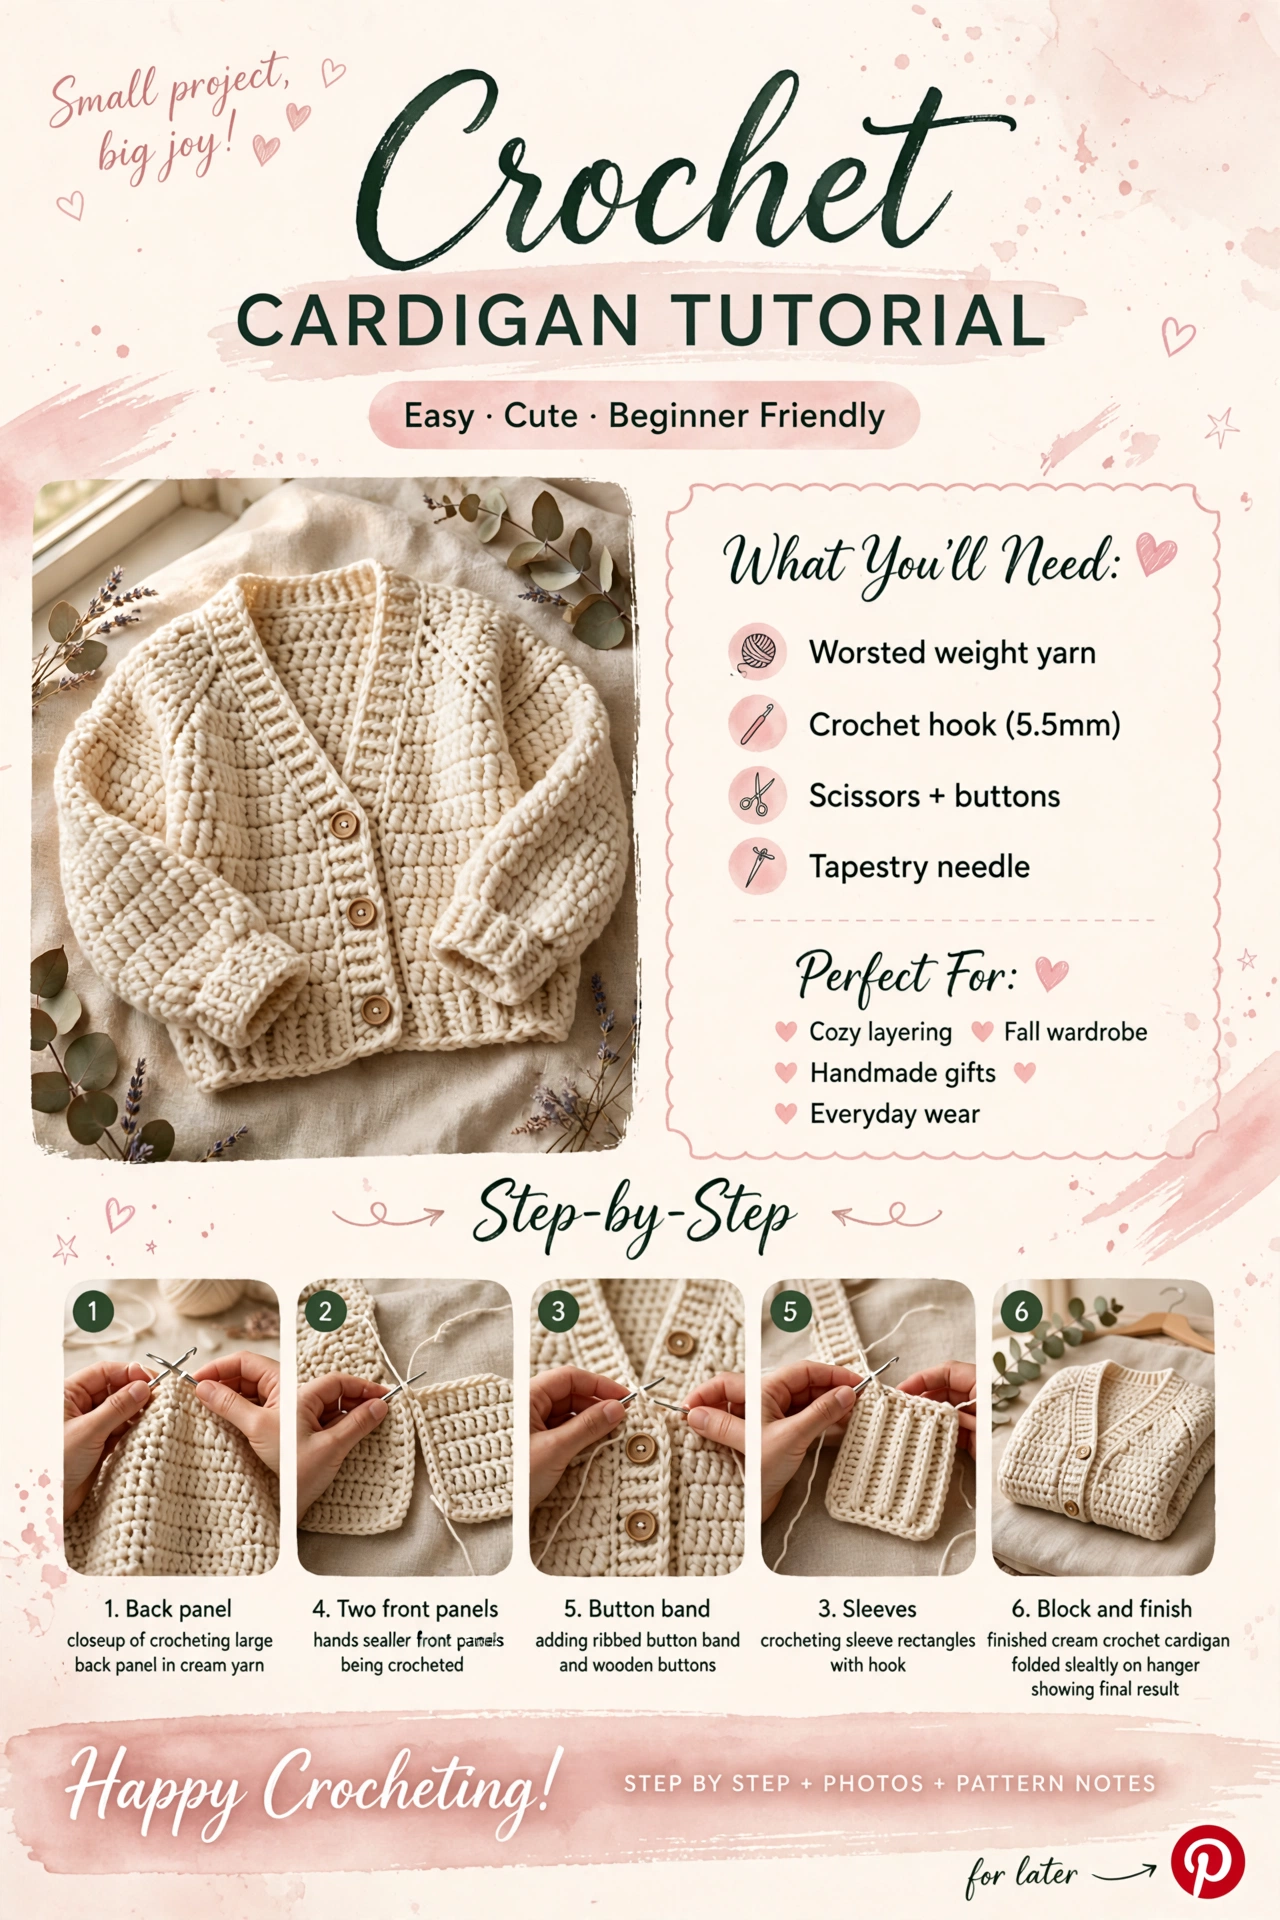
Complete tutorial roadmap
- Prepare yarn, hook, measurements, and workspace.
- Build the main shape with consistent stitch counts.
- Pause at checkpoints to compare size and symmetry.
- Finish edges, joins, closures, or hardware carefully.
- Block, wash, and store the finished project appropriately.
Materials & preparation
Worsted yarn, 5.5 mm hook, scissors, tapestry needle, buttons
Core pattern / method
A simple panel construction makes a cardigan easier to adjust because each piece can be measured before assembly. Use the wearer’s chest and arm measurements rather than relying only on a generic size.
Step-by-step
- Make the back panel first, then crochet two matching front panels.
- Work sleeves as rectangles or tapered pieces, seam them carefully, and attach them to the arm openings.
- Add a button band along the fronts and finish with buttons.
Checkpoint
Lay the front panels over the back before seaming. Shoulder widths should match, and sleeve openings should be positioned symmetrically.
Troubleshooting
If the cardigan pulls at the shoulders, recheck panel width and seam allowance. If sleeves twist, mark the top center before attaching them. If the front edges ripple, reduce extra stitches in the button band.
Finishing
Block each panel before assembly when the yarn allows it. Sew buttons firmly and weave all ends between fabric layers.
Variations & next projects
Try a cropped length, longer sleeves, contrast cuffs, or a simple belt. The same panel method can become a vest by omitting sleeves.
Care & storage
Wash according to the yarn label and store flat to protect the shoulders and button band.
Final notes
Record your hook size, stitch count, and any adjustment that worked for your tension. Those notes make the next version easier and more consistent.